Loss of even gloss
A common wear pattern. The right response depends on area, stone, previous finish and whether the whole visual zone needs to be blended.
ROYALSTONE · MARBLE POLISHING GUIDE
Diagnose the cause first — then choose the abrasive sequence, finish and scope of work.
Dullness, fine scratches, acid etching, uneven gloss and deep damage can look similar from a distance. Correct restoration starts with the stone type, defect depth, joint condition and previous coatings. This guide explains the decision logic before you order a service.
The same “dull patch” can require very different work. Before treatment, surface wear must be separated from damage that polishing alone cannot repair.
A common wear pattern. The right response depends on area, stone, previous finish and whether the whole visual zone needs to be blended.
Surface and shallow marks can often be corrected with a staged abrasive process. Their depth is checked before choosing grit and number of passes.
On calcite-based stones, acid can alter the stone surface rather than leave ordinary dirt. Cleaning or impregnation does not recreate the lost finish.
If the defect is tactile or crosses joints, deeper grinding of the full logical zone may be required instead of a small spot-polish.
These are restoration issues. The defect or system stability is repaired first, then the finish is blended.
These boundaries keep similar-looking problems from being sent to the wrong operation.
The sequence depends on the stone condition. The principle is minimum sufficient intervention followed by a controlled finish, not one fixed recipe for every project.
Start with an overall view, close-ups of defects, approximate area, surface type and the stone name if known.
On site, defect depth, joints, previous coatings and the stone response to the proposed method are checked.
Furniture, walls, skirtings, metal, timber and other finished elements are protected before wet and abrasive stages.
The defect sets the treatment depth. Mild loss of gloss and pronounced scratches should not automatically receive the same sequence.
The surface is processed in stages while checking even reflection, edges, junctions and transitions between zones.
After cleaning, the finish is reviewed in working light and guidance is provided for initial use and routine care.
Surface geometry changes the method: a large floor, a stair tread and a countertop edge differ in access, traffic and manual work.
Large-area uniformity, joints, high-traffic lanes and transitions between rooms matter.
Treads, risers, edges and internal corners increase manual work and protection requirements.
The field, edge profile, cut-outs, stains and contact with acids or pigments are assessed separately.
A small element can have complex junctions with the frame, reveals and walls; a local finish has to blend with the whole visible plane.
Access and tooling differ, especially near corners, furniture, lighting and joints.
High traffic and limited work windows require zoning, sequencing, protection and an agreed return-to-service time.
A strong result starts with the correct service boundary. Structural or deep defects should not be disguised with a finishing operation.
Missing material must be rebuilt and the repair colour matched before the surface finish is blended.
The cause and substrate stability need assessment; cosmetic gloss does not solve movement.
The joint is repaired or replaced using an appropriate system, then the finish is blended after stabilization.
If contamination has penetrated the stone, mechanical polishing may not be the correct or sufficient treatment.
Movement, voids, lippage or detachment should be treated as a separate technical problem before finishing work.
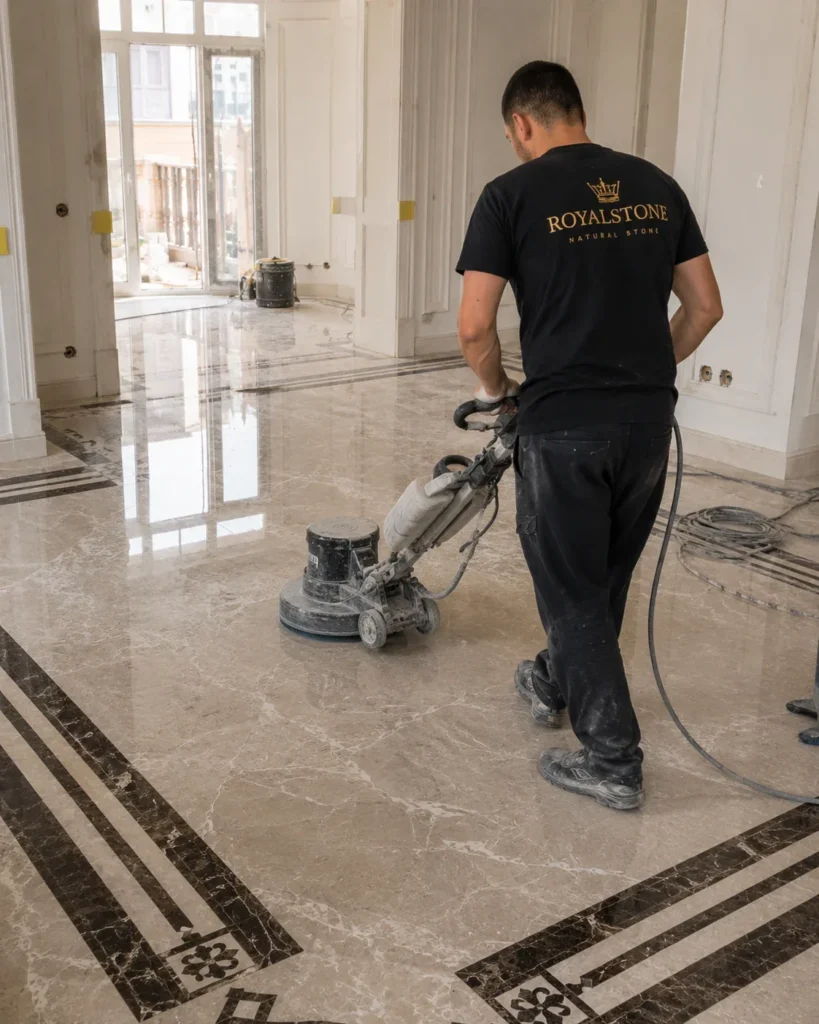
These three photographs from the current service page show real polishing work on light and dark marble floors. They document the process, but do not promise the same outcome for a different stone or defect.
Machine treatment of a large floor with control of junctions, geometry and finish consistency.
Open the service ↗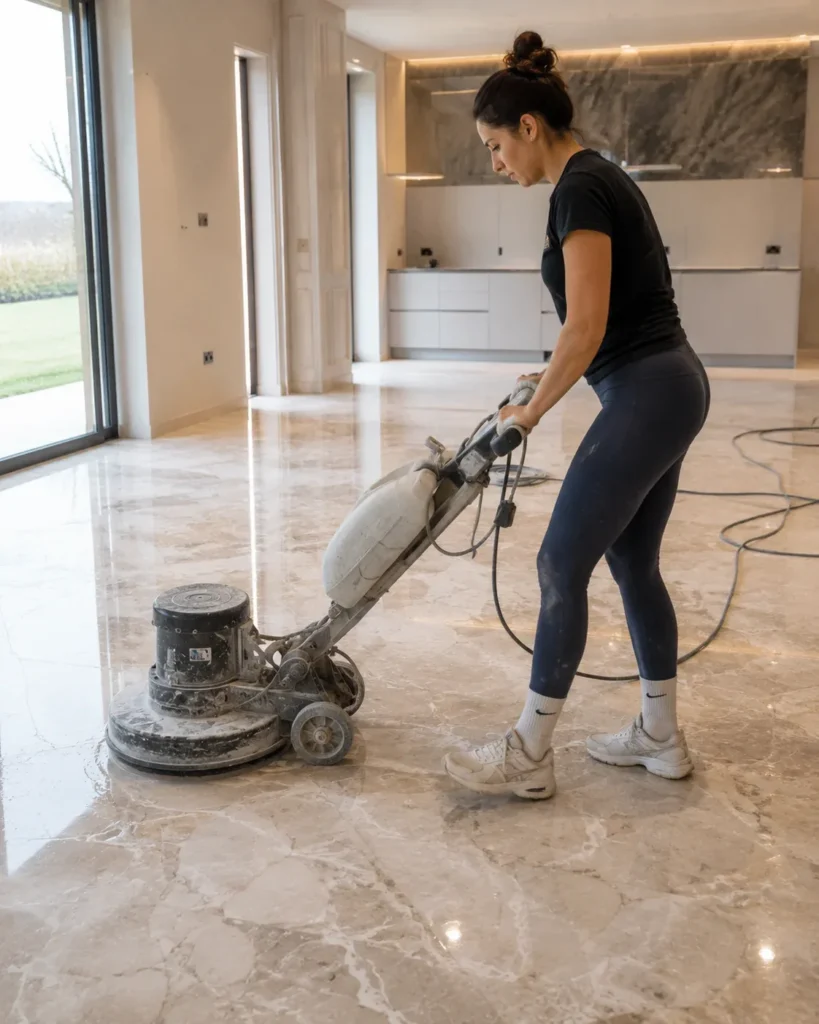
A real work stage on a light surface where gloss variation and transitions are visible across the full plane.
More about polishing ↗
Dark surfaces reveal uneven reflection clearly, so the finish is evaluated across the entire logical zone.
Go to the service ↗A reliable quote is based on the actual scope and condition, not on the word “polishing” alone.
Open floors, stairs, edges, corners and small local zones have different labour and manual-processing requirements.
Stone type, current finish, previous coatings and joint condition affect the safe treatment sequence.
Deeper damage requires a longer abrasive sequence; chips and cracks are priced as separate restoration work.
Work near walls, stairs, columns, furniture and complex profiles increases the manual component.
Interior protection, floor level, water, power, access windows and equipment logistics are part of planning.
Joint repair, local restoration or protective treatment is added only when the need is confirmed.
Aftercare is selected for the specific stone and finish. These are baseline principles, not a substitute for project-specific instructions.
Avoid acidic cleaners and abrasive powders on marble unless their compatibility has been specifically confirmed.
Pigmented and acidic liquids should not be left on the surface, especially on light or more absorbent stones.
An impregnator can reduce liquid absorption, but it does not recreate a mechanically damaged finish.
Mats, correct cleaning and keeping grit off floors reduce new micro-scratches and uneven wear.
Photos support an initial assessment, but scratch depth, previous coatings, joint condition and stone response often require an inspection or test patch.
Shallow defects can often be corrected, while deep grooves may require deeper grinding or a separate repair. The expected result is agreed after diagnosis.
Grinding removes a more significant layer to level defects; polishing develops and evens the finish. Both can be stages in one restoration sequence.
Sometimes, but a local area can differ in gloss from the surrounding surface. The decision depends on size, lighting, stone and the boundaries of the visual plane.
No. The need depends on the stone, use conditions, existing protection and compatibility with the desired finish.
Duration depends on area, geometry, defect depth, number of stages and site access. A realistic schedule is confirmed after diagnosis.
ROYALSTONE
Send an overall photo, close-ups of the defects, approximate area and city. RoyalStone can help distinguish polishing from grinding, restoration or routine care and define the next step.