Object type
Feature wall, bar, island, vanity, basin or art object each needs a different frame, edge strategy, support and service plan.
ROYALSTONE GUIDE · ONYX & BACKLIGHT
Start with the actual slab and a lighting mock-up. Then lock drawings, light box, electrical and fabrication.
Backlit onyx is not simply stone plus an LED strip. The result depends on the translucency of the actual slab, vein layout, light color, source-to-stone distance, diffusion, light-box surfaces, joints and service access. This guide puts those decisions into one sequence before the stone enters fabrication.
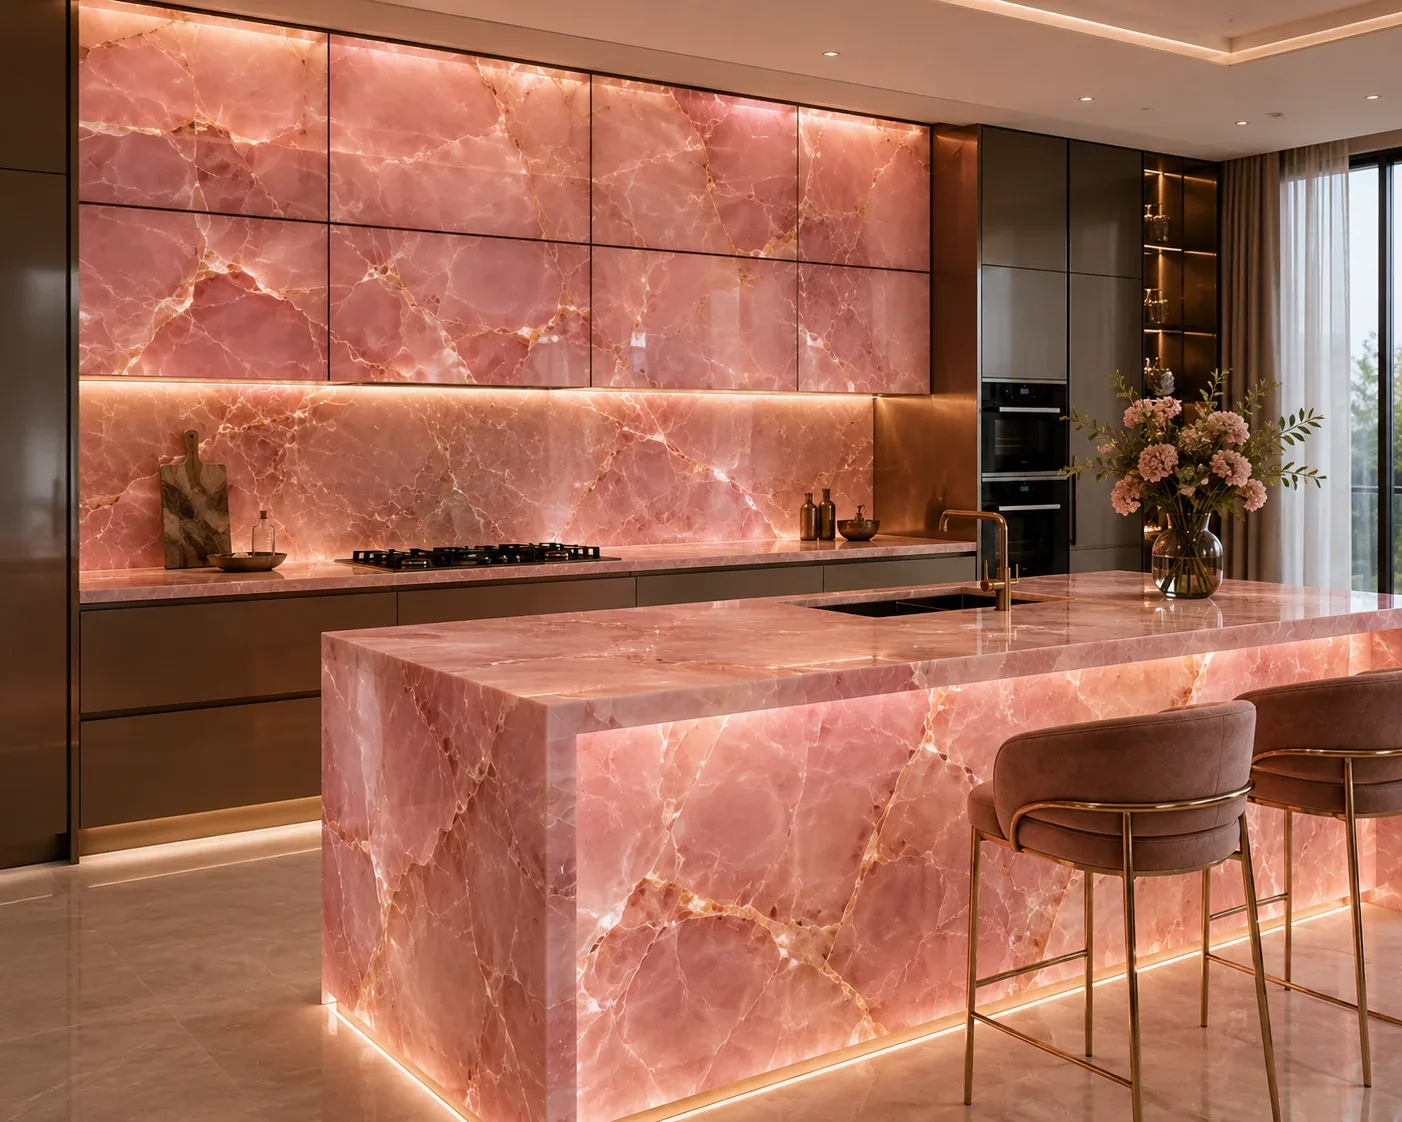
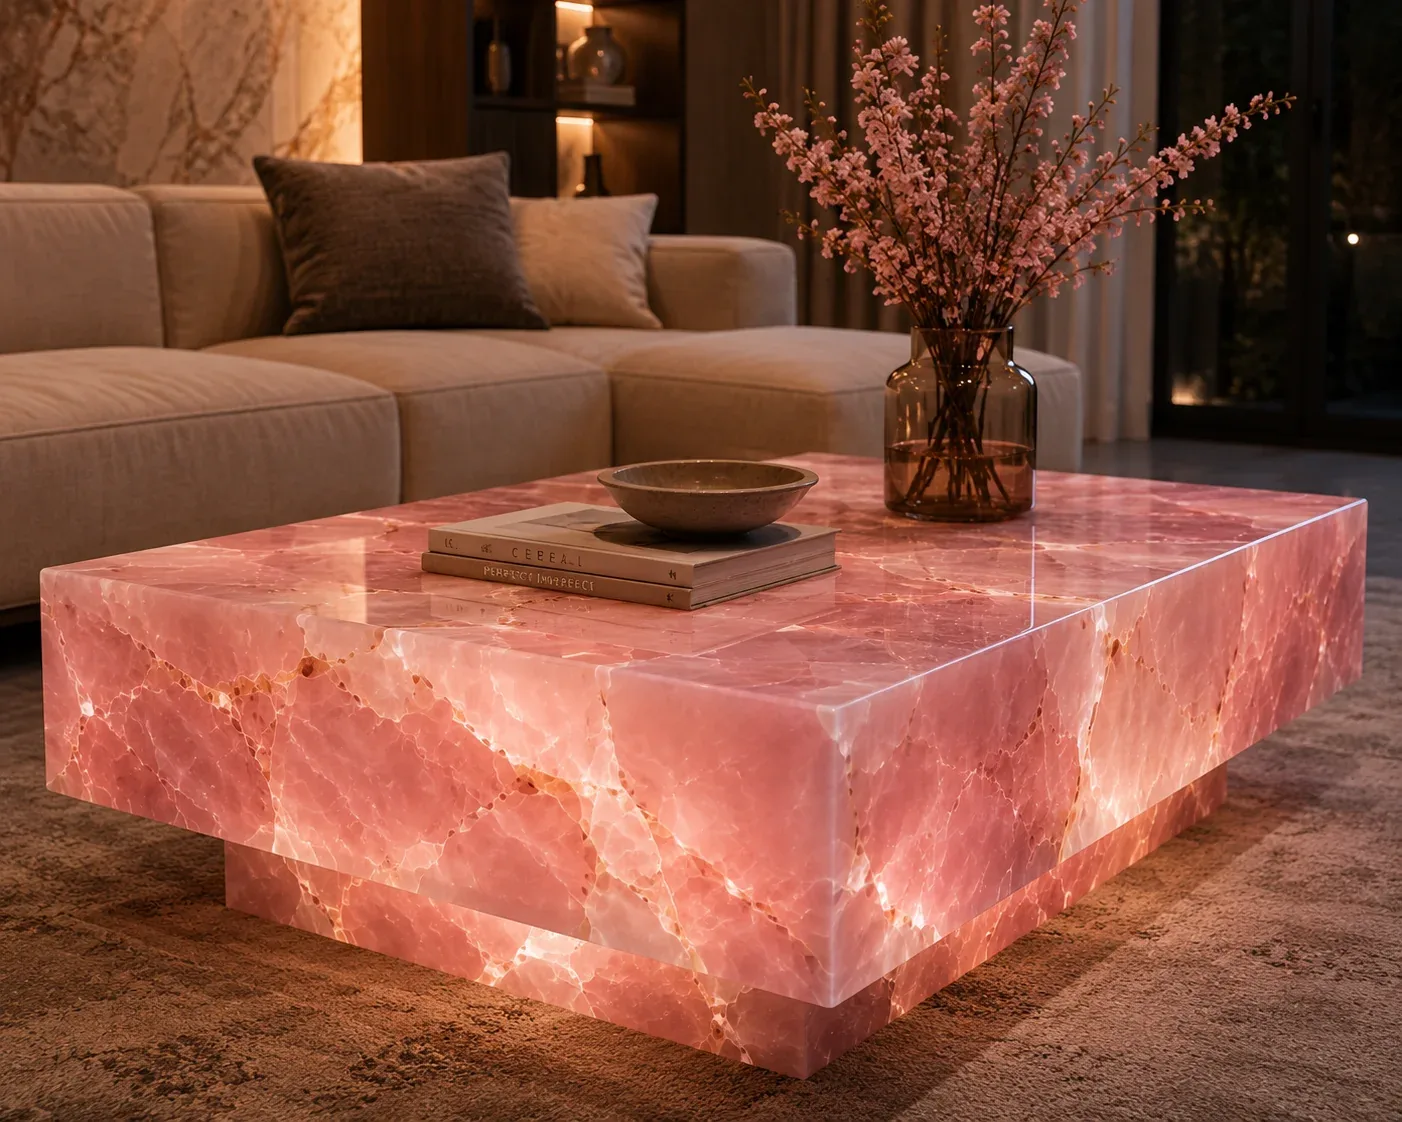
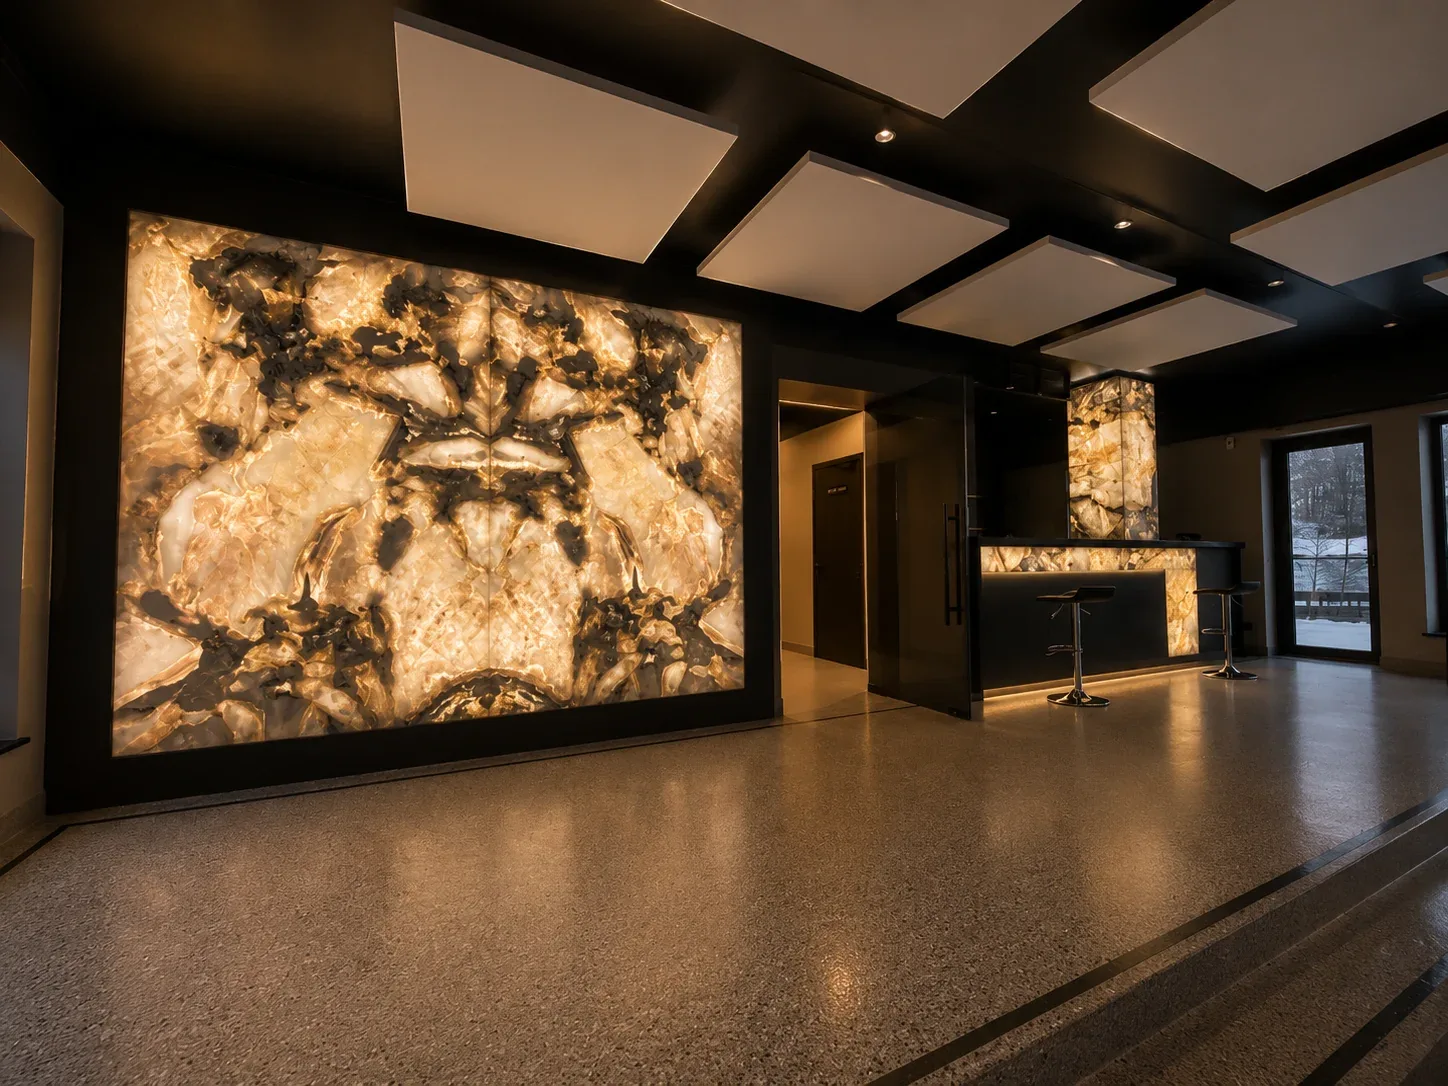
Before choosing a slab, define what is meant to glow, how it will be viewed and how the lighting equipment will be serviced after installation.
Feature wall, bar, island, vanity, basin or art object each needs a different frame, edge strategy, support and service plan.
Lock the clear panel size and primary viewing angles; they influence joints, bookmatch, visible edges and lighting uniformity.
Decide whether the panel is always on, an evening accent, or dimmable. This affects controls and service access.
Warm/cool finishes around the stone change its appearance. Light color should be judged on the actual slab in context.
Bathrooms, bars and kitchens need separate coordination for sealing, cavity conditions, electrical and service access.
Large panels must be planned around lift/door dimensions, turns, weight, handling space and future service.
Onyx varies in translucency, thickness, layering, veining and local inclusions. Judge the lighting effect on the material that will actually be used.
Illuminate the selected slab or a representative area from behind to reveal real translucency, dark zones and variation.
The panel should also work visually when the light is off. Review color, veining, layers, fills and composition.
Thickness affects both transmission and mechanics. Final selection must reflect the actual slab, panel size and support system.
Before fabrication, mark which slab areas belong in the visual center, edges, corners and secondary locations.
Veins, layers and transitions are part of the material and often become more visible when illuminated.
Keep an approved slab-layout image with part numbers and orientation as a control point for fabrication.
Joints and awkward vein turns are more visible in an illuminated panel. Approve the slab layout before cutting and before final frame drawings.
Choose the focal point: a strong vein, a bookmatch axis or a calmer field.
For paired parts, check whether mirror or sequential layout gives the intended continuity.
Treat joints as part of the composition rather than moving them late purely for installation convenience.
Define how the pattern meets and what edge detail will be seen from key viewpoints.
Sockets, faucets, equipment, brackets and access panels should not randomly cut key veining or block service.
Number every panel and lock orientation, especially for multi-panel illuminated compositions.
The same onyx can read cream, pink or cooler under different sources. Select light through a real mock-up, not by specification number alone.
Compare several color temperatures on the actual stone in the intended interior.
Source spectrum affects natural stone tones and adjacent finishes; evaluate more than wattage or lumen output.
More light is not automatically better. Excess output can wash out the pattern and expose hot spots or joints.
Bringing LEDs too close increases the risk of local hot spots; cavity depth is determined by testing the system.
Arrange strips/modules so the field remains even through the center, edges and joints.
A diffuser can reduce point-source visibility but changes output; test it as part of the complete assembly.
If scenes are required, verify source/driver/control compatibility and stone appearance at multiple output levels.
Even illumination is created inside the assembly. Box geometry, reflectance, cabling, thermal conditions and equipment access need to be defined before stone fabrication.
Choose it for the source type, LED spacing and slab behavior; there is no universal dimension.
Light or reflective surfaces may help uniformity, but their effect should be tested in the mock-up.
Frame members should not create dark bands that read through the stone.
The light field should reach edges without a bright border or obvious fall-off.
LEDs and drivers need the operating conditions required by their manufacturers; a decorative cavity is not an excuse to ignore heat management.
Plan a way to reach serviceable components without removing the stone wherever practical.
The stone installer should not be asked to improvise electrical decisions on site. Driver locations, controls and cable routes are coordinated with the electrician and lighting supplier.
Locate power supplies in appropriate operating conditions and where they remain accessible for diagnostics and replacement.
Large panels may be divided into controllable sections, which drives cable routing and service logic.
Agree the control method before procurement: phase/0–10 V/DALI/DMX/relay/smart-home as appropriate to the project.
Keep cable routes out of the visible light field and away from stone fixings.
Electrical placement in wet environments is determined by the project electrician and equipment requirements.
Before closing the assembly, test every zone, dimming, color consistency, flicker behavior and service access.
Light makes geometry more visible. Details that disappear on ordinary stone can become dominant in a backlit assembly.
Decide which edges are seen by day and night and whether they need stone returns, special finishing or a concealed profile.
The joint method affects pattern continuity, strength and the line of light at the corner.
Allow real installation tolerances rather than relying on perfect CAD geometry.
Check clearances from edges, veins and fixing zones for every opening.
Stone should not be the only structural support for a large plane; frame/substrate design follows size and weight.
If service requires a removable panel or hatch, include it in the working drawings.
Onyx is decorative and translucent but vulnerable to chemical and abrasive attack. Wet and working zones require realistic use and maintenance planning.
Coordinate water, sealing, plumbing, trap access and lighting service as one detail.
Drinks, citrus and cleaning chemistry matter for calcite stone expectations and maintenance.
When onyx is a luminous decorative skin, separate its decorative role from the working top and structural support.
Backlighting must not compromise waterproofing or service; electrical and sealing follow appropriate systems.
An impregnator may improve stain resistance but does not make onyx acid-proof or scratch-proof.
Predictable results come from respecting control points. Stone, light, metalwork, furniture and electrical should meet on the drawing before installation.
Size, function, visible sides, lighting mode and stone direction.
Actual material, photos, backlight test and allowance for composition.
Stone sample + planned light source + approximate depth + diffusion.
Layout, joints, edges, frame, lighting zones, drivers, access and cable entries.
Final dimensions after support construction is ready; then cutting and finishing.
Test lighting before closing, install stone, finish joints, verify dimming and hand over service information.
These examples are already represented in the RoyalStone portfolio and show different scales — from a small object to an island, wet-area feature and large wall.
A compact object that clearly demonstrates lighting uniformity, edge quality and service access.
Open project ↗Large surfaces expose layout, dark areas, joints and uneven illumination, so the mock-up matters before fabrication.
Open project ↗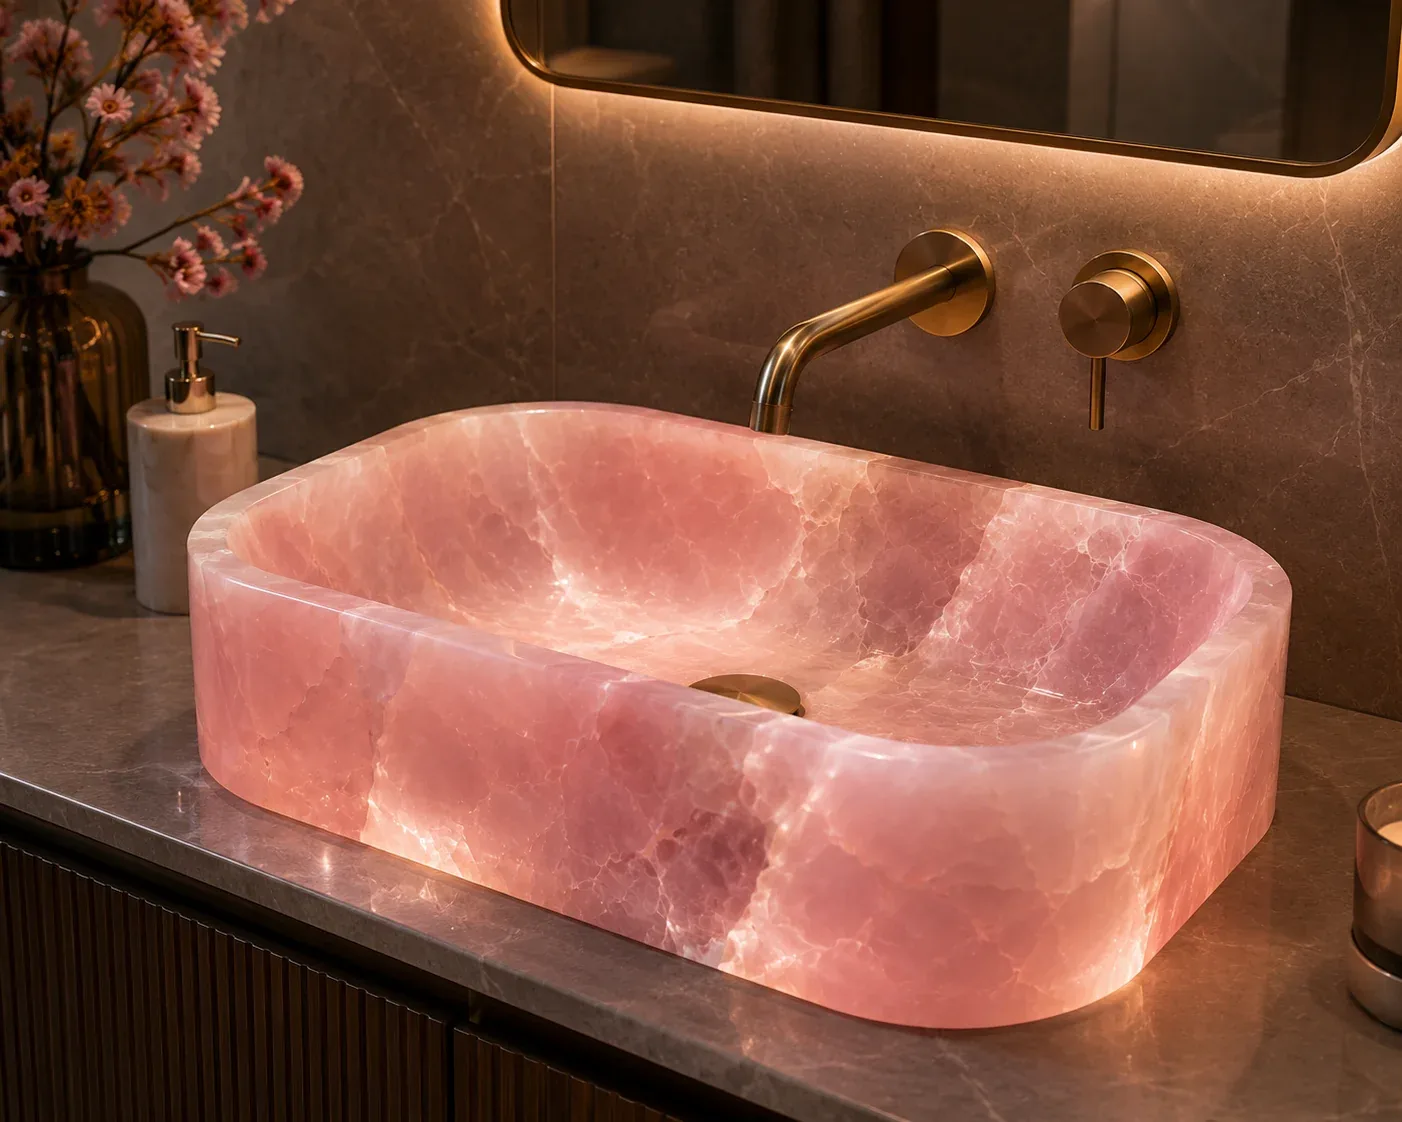
Light, water, plumbing and service access need to be coordinated as one assembly.
Open project ↗Shows that light-box, layout and concealed-detail principles also apply to other stone with suitable translucency.
Open project ↗Compare quotations against the same technical brief. The budget is more than the square metres of onyx.
Rarity, format, usable yield, pattern requirements and selection allowance.
Bookmatch, joints, large formats, corners and cutting complexity.
Edges, cut-outs, reinforcement, polishing and handling of visible details.
LEDs, profiles, diffusers, drivers, controls, zones and light quality.
Depth, materials, fixings, access panels and coordination with wall/furniture.
Weight, floor, access, lifting, installation stages and commissioning.
A premium illuminated panel should remain serviceable. The owner needs clear stone-care rules and lighting-system information.
Use products compatible with natural stone and avoid acidic or abrasive cleaners on onyx.
Especially beverages, cosmetics and acidic products.
Staining, etching and scratching need the correct diagnosis before treatment.
Retain LED/driver models, zone diagram, CCT and access locations in the handover pack.
After replacing a driver or light source, compare color and brightness with adjacent existing sections.
This compact pack is enough to understand the assembly and propose the next technical step without pricing “stone in isolation”.
Go to the page that matches the next step — material, product, wall planning or verified project work.
No. Transmission depends on the actual slab, thickness, structure, veining and local zones, so the material needs to be tested.
There is no universal value. Compare several CCTs on the actual slab in the intended interior and consider color rendition as well as warmth/coolness.
Uniformity depends on source distance, spacing, optics, diffusion, internal reflectance and slab translucency. A full-assembly mock-up is the reliable way to decide.
It is better to provide access. Drivers and other components can require diagnostics or replacement during the life of the installation.
Some marbles and other stones can produce a translucent effect. The actual material, thickness and mock-up — not the stone name alone — determine the result.
It can be considered as a decorative feature when stone, water management, sealing, electrical, cavity conditions and service access are coordinated together.
Narrow the actual slab and concept first, then test that material with candidate light sources. Final stone and lighting specifications should be approved as one system.
There is no universal cavity depth. It depends on slab transmission, source type, spacing, diffusion and the target uniformity, so the assembly should be mocked up.
Send dimensions, photos, object type, stone reference, desired light character, controls/wet-area information, site address and construction stage.
These sources support general onyx properties, natural-stone care and LED-light characteristics. The actual slab, adhesive system, frame, lighting, electrical and installation details are verified for each project.
ROYALSTONE · KYIV
Send a sketch, dimensions, site photos, stone reference and desired light character. RoyalStone can move the idea through a controlled sequence: slab → mock-up → layout → light box → survey → fabrication → installation.